# Configuring the Smartnode Stack (Native Mode)
In this section, we'll go over the various methods for configuring the Smartnode if you're using the Native setup that doesn't use Docker at all.
NOTE
If you're using a Docker-based setup, please visit the Docker configuration guide instead.
There are three ways to configure it:
- Via the Wizard UI - this is the easiest way. It only asks you a few basic question and uses well-tested defaults for the test. This will be what you are presented with when you run
rocketpool service configfor the first time. - Via the Settings Manager UI - this gives you access to all of the Smartnode's settings so you can customize everything as much as you want.
- Headlessly via the Command Line - this is an option for people who run the Smartnode in a headless (non-interactive) environment and need to configure it automatically.
Choose which mode you'd like to learn more about from the list above, or simply scroll through each option below.
# Configuring via the Wizard
To configure the Smartnode, run the configuration command:
rp service config
This will launch a terminal-based UI that will allow you to quickly and easily configure your node, as well as provide optional fine-grained control over the settings that are relevant to Native mode.
NOTE
If you've already configured the Smartnode, you will instead be greeted with the Settings Manager. You can choose to re-open the Wizard from there if you prefer it, and all of your existing settings will be pre-selected for you.
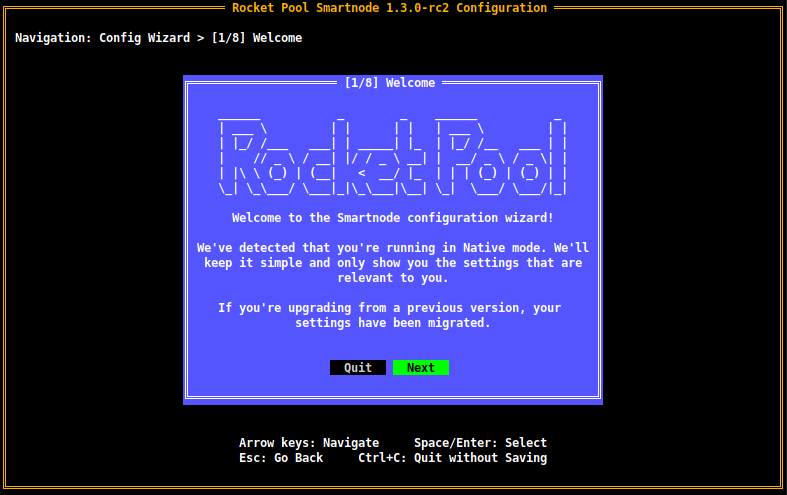
When you run the config UI for the first time (or if you choose to run the Wizard again later), you will be presented with a screen that looks like this:
TIP
To use the Wizard, press the Arrow Keys (up/down/left/right) to navigate between things such as buttons (choices) or text boxes.
You can also use Tab and Shift+Tab if you prefer - it will do the same thing.
For buttons, the one that's currently selected will be highlighted in green.
The ones in black are not selected.
In the screenshot above, Next is currently selected and Quit is not.
Press Enter or Space to select a button, analogous to clicking on it with the mouse.
Press Escape to go back to the previous dialog if you changed your mind about something.
This will come in handy as you progress through the various Wizard pages.
Hold Ctrl and press C at any time to exit the Wizard without saving anything.
For example, on the screen above, you could press the left and right arrow keys to move between the Next and Quit buttons.
Pressing Enter while Next is selected will proceeed to the next screen.
Pressing Enter while Quit is selected will quit the Wizard without saving.
When you're ready to begin, press Next.
# Choosing a Network
In the next screen, you will be asked to choose which network you want to use:
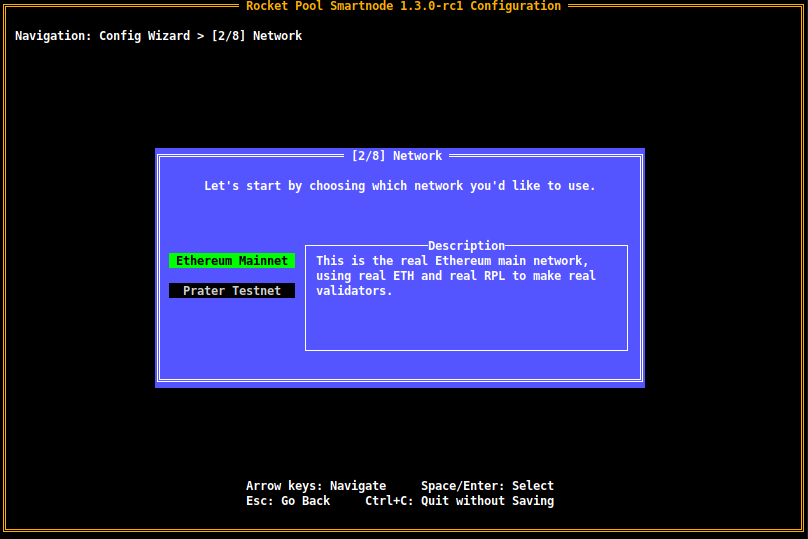
You can highlight the different choices with the Up and Down arrow keys (or Tab and Shift+Tab).
When you change choices, the Description box on the right will show you a brief description of each option.
This is true for all choice-based pages in the Wizard, not just the network selection, so you will see this style of page frequently.
If you want to practice running a Rocket Pool node on the Prater test network with fake ETH and RPL you can get for free, select Prater Testnet.
If you're ready to create a real Rocket Pool node on Mainnet to earn real rewards, select Mainnet.
# Execution Client Setup
The next screen will prompt you for the URL of your Execution client's HTTP-based RPC API:
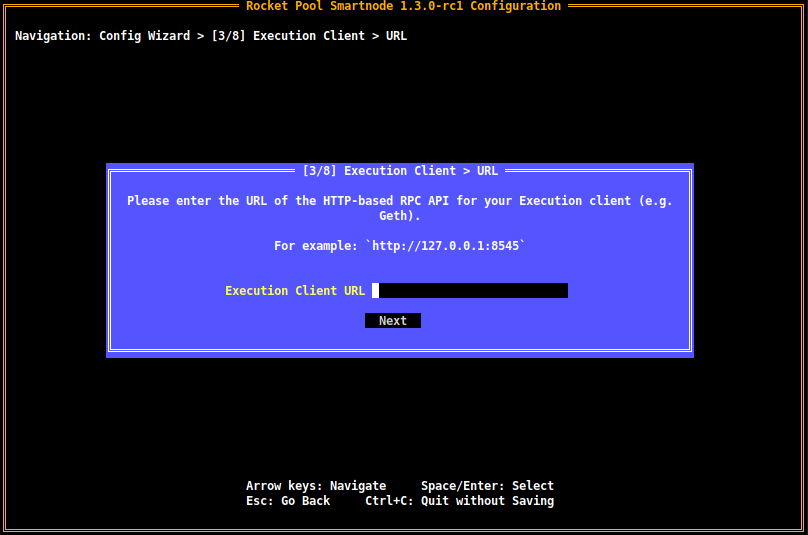
Enter http://127.0.0.1:8545 here if you plan to run an Execution client on the same machine as the Smartnode (in the rest of this guide, we will assume this is what you plan to do).
However, if you already have an Execution client set up elsewhere, use its URL here instead.
Note that you can always change this by running rp service config again later.
# Consensus Client Setup
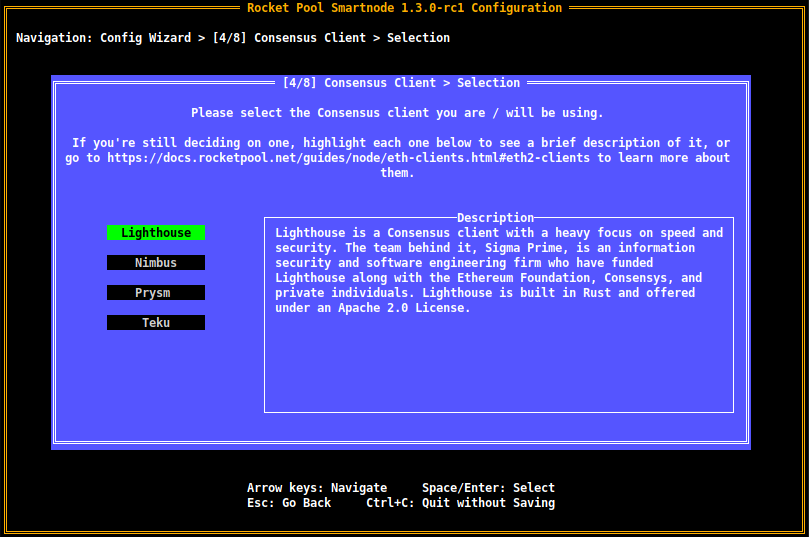
Next, you'll be asked which Consensus client you are using (or plan to use). Because each Consensus client has slightly different behavior, the Smartnode needs to know which one you're using so it can adapt its own behavior accordingly. Choose your client from the list in the following screen:
Next, you will see a screen prompting you for your client's API URL:
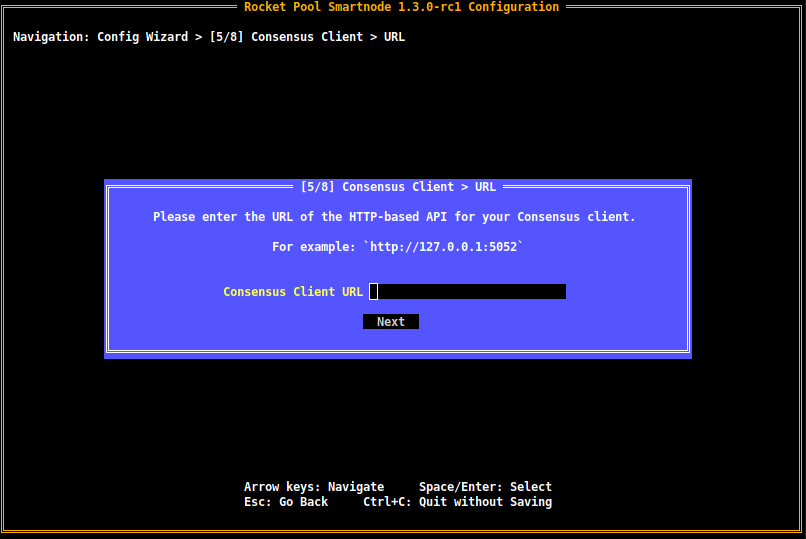
Enter http://127.0.0.1:5052 here if you plan to run the Beacon Node of your Consensus client on the same machine as the Smartnode (in the rest of this guide, we will assume this is what you plan to do).
However, if you already have a Beacon Node set up elsewhere, use its URL here instead.
# Other Settings
The next screen will have a few other miscellaneous settings:
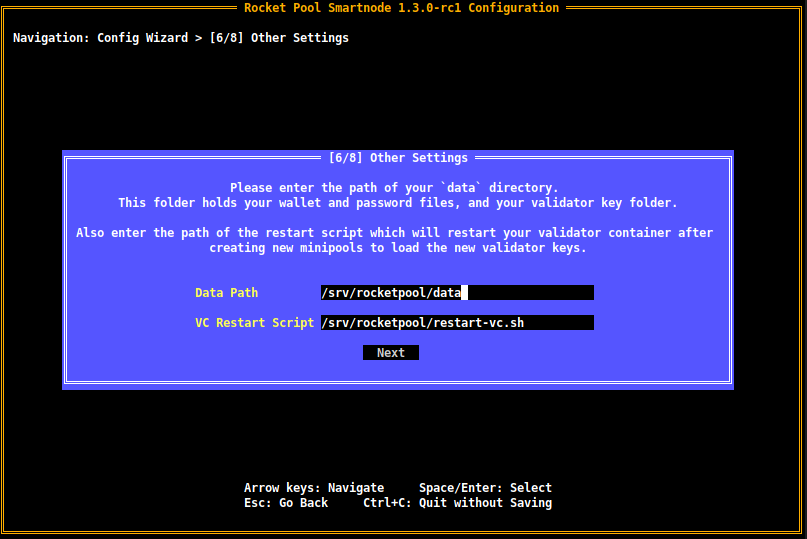
Leave these as the default options unless you have decided to use a directory other than /srv/rocketpool for your Smartnode installation.
# Metrics
Rocket Pool has the ability to integrate with Prometheus and Grafana to produce convenient web-based dashboards that let you observe your node's health at a glance:
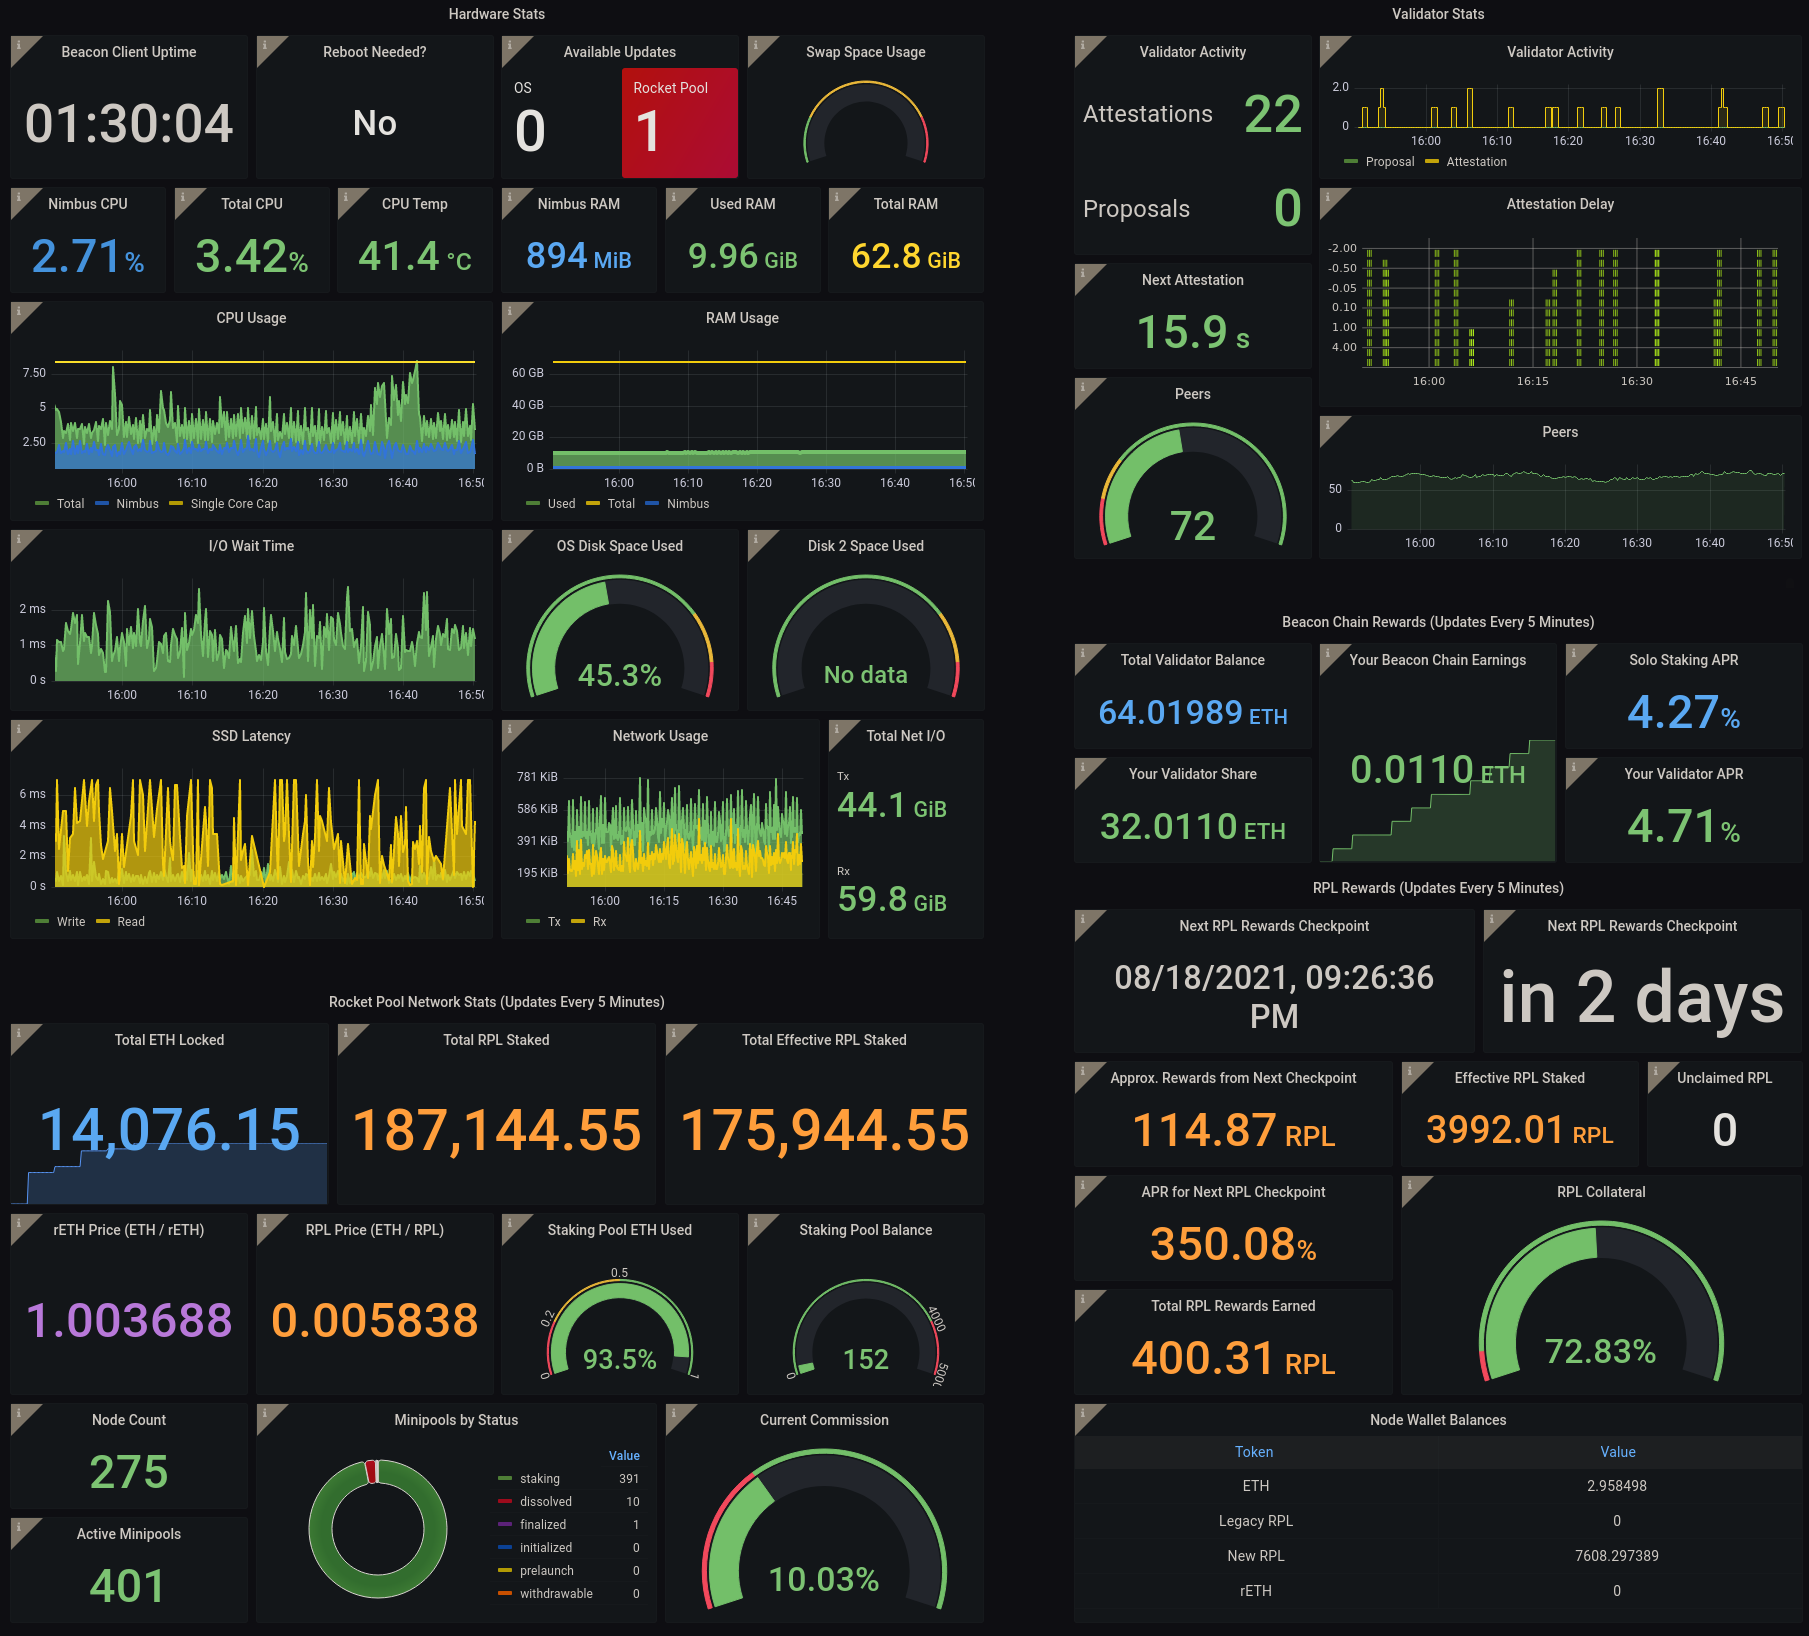
The final question in the Wizard will ask you if you want to enable this:
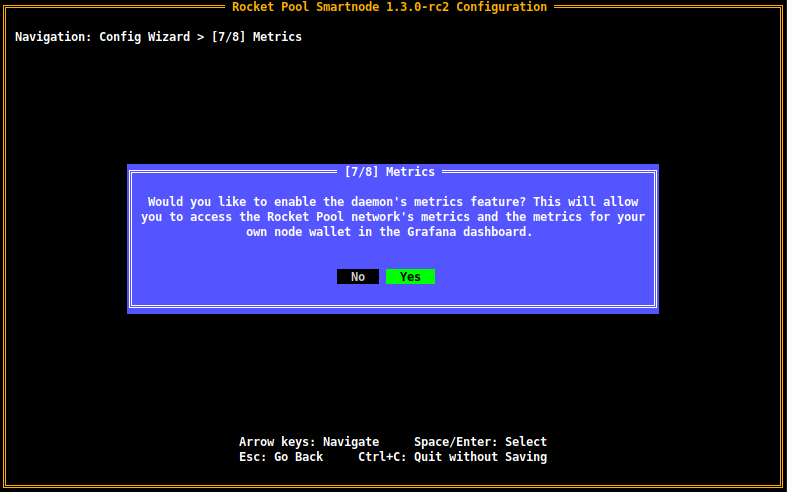
If you choose to enable it, you will learn more about setting it up and how to use it in the Setting up the Grafana Dashboard section later in the process.
NOTE
All of the data collected by this system stays on your machine. Rocket Pool does not collect any of the telemetry or send it to a separate service. It's purely there for you to use so you can monitor your own node!
After this question, you've finished setting up the Smartnode configuration. You will see the following dialog:
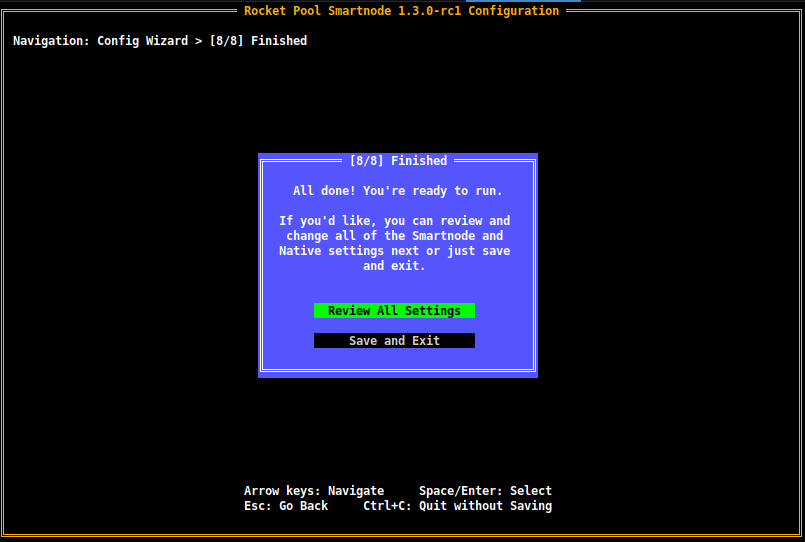
If you're happy with your setup and are ready to start the Smartnode, click Save and Exit here.
If you haven't finished installing Rocket Pool yet, return to the Native setup guide now. Otherwise, the next step is to restart your daemon services with:
sudo systemctl restart rp-node rp-watchtower
If you would like to review all of the settings and customize many additional settings that weren't included in the Wizard, click Review All Settings and go to the next section.
# Configuring via the Settings Manager
If you've already run rp service config, instead of being greeted by the Wizard, you will see the Settings Manager screen:

There are three main features of this screen:
- The Category List, which lets you drill down into the settings for each category of the Smartnode stack that is relevant to Native mode
- The Review Changes and Save button, which you can use when you're ready to see what settings you've changed and save the updated configuration
- The Open the Config Wizard button, which will bring you to the Setup Wizard if you prefer that interface instead
TIP
To use the Settings Manager, press the Arrow Keys (up/down/left/right) to navigate between options in the home page.
Press Tab to go between the category list (1) and the buttons (2 and 3) at the bottom of the screen.
The button that's currently selected will be highlighted in green.
Press Enter or Space to select a button, analogous to clicking on it with the mouse.
Hold Ctrl and press C at any time to exit the Settings Manager without saving anything.
As you scroll through the categories list, each option will have a helpful description appear in the Description Box to the right of the screen. Feel free to explore them; nothing you do will be saved until you go through the Review dialog via the Review Changes and Save button, and you can press Ctrl+C at any time to exit without saving, so you won't accidentally mess something up by playing with the settings here.
# Configuring the Settings
From the home screen, select any one of the categories with the Enter key to view the settings for that category.
For example, here is the screen for the Smartnode and TX Fees category:
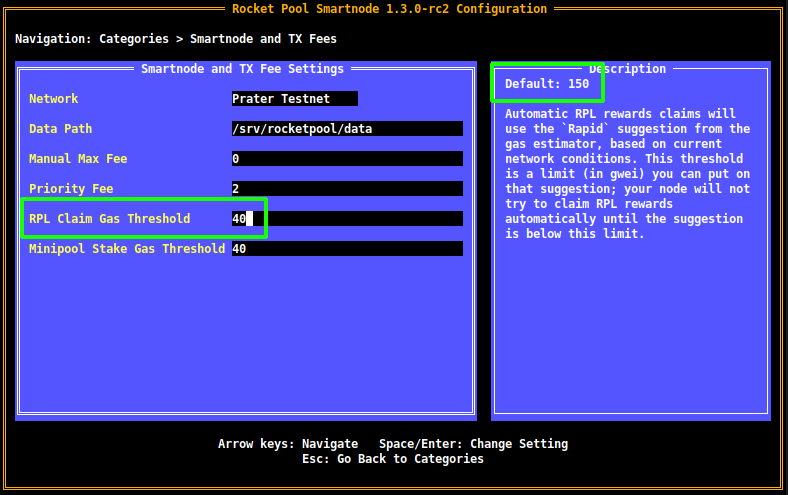
Use the Arrow Keys to move up and down between the settings.
The currently selected one will have a white square at the end of it (if it's a text box or a check box), or will be highlighted in white (if it's a drop down).
Press Escape to go back to the home screen of the Settings Manager when you're done.
As you scroll through the settings, each one will show a brief description of what it does in the Description Box on the right. It will also show the default value there in case you want to revert it to its stock setting.
In this example, the RPL Claim Gas Threshold setting is currently selected (highlighted with a green box on the left-hand side of the screen).
It has been changed to 40, but you can see that it has a default of 150 in the top-right corner (the top of the Description Box).
TIP
As a reminder, nothing will be saved to disk until you go through the Review dialog via the Review Changes and Save button. You are encouraged to explore all of the settings to learn about them.
# The Setting Types and How to Use Them
The settings manager uses the following setting types and UI elements:
# Text Boxes
Text boxes are used to enter arbitrary strings of text or numbers. They look like this:
Enter your desired values into them, then press Enter or use the Arrow Keys to navigate to a different setting in order to preserve your changes.
If you don't, the Settings Manager will assume you're still updating that setting and won't mark it as changed yet.
# Drop Downs
Drop downs are used to select an option from a list of choices. They look like this (when they're open):
The green item is the one that is currently selected.
Use the Arrow Keys to change options - as you do, the Description Box on the right will update to tell you more about the currently selected option.
When you're happy with your choice, press Enter to choose the selected option and the drop down will close, revealing the option that is currently selected:
# Check Boxes
Check boxes are used for simple Yes/No questions. They look like this:
When they are checked, they will have an X in the middle as you see above.
When they are unchecked, they will simply be blank like this:
To change the setting, simply select it and press Enter.
# Saving Changes
When you're happy with your changes and you'd like to review them before saving, press the Review Changes and Save button on the home screen.
As a reminder, to get to it, press the Tab key.
You will be presented with a view that looks like this:
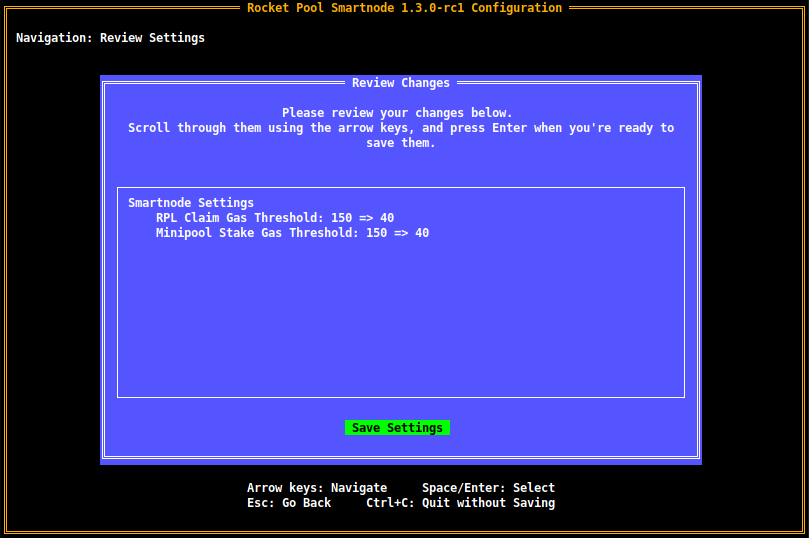
The Review Box here will present all of the settings you've changed, showing the old values and the new ones.
For example, the first line here shows that the RPL Claim Gas Threshold used to be 150, and it's been changed to 40.
NOTE
At this point, your changes still haven't been saved yet.
If you want to go back and modify something, press Escape to return to the home screen.
When you are satisfied with the changes, press Enter to save the new configuration to disk.
You will then exit the Terminal UI and be presented with this message:
Your changes have been saved!
Please restart your daemon service for them to take effect.
If you haven't finished installing Rocket Pool yet, return to the Native setup guide now. Otherwise, now you can restart your daemon services with:
sudo systemctl restart rp-node rp-watchtower
# Configuring via the Command Line
If you use the Smartnode in a headless environment where you can't interact with the Terminal UI, you can configure your node via the command line instead.
The rocketpool service config command accepts, as arguments, every setting that can normally be configured via the Terminal UI.
Run the following command to see a list of them (note that it's quite long):
rocketpool service config --help
The output will look like this:
NAME:
   rocketpool service config - Configure the Rocket Pool service

USAGE:
   rocketpool service config

OPTIONS:
   --executionClientMode value  Choose which mode to use for your Execution client - locally managed (Docker Mode), or externally managed (Hybrid Mode).
                                Type: choice
                                Options: local, external
 (default: "local")
   --executionClient value  Select which Execution client you would like to run.
                            Type: choice
                            Options: geth, infura, pocket
 (default: "geth")
   --useFallbackExecutionClient         Enable this if you would like to specify a fallback Execution client, which will temporarily be used by the Smartnode and your Consensus client if your primary Execution client ever goes offline.
                                        Type: bool

...
Each option will have its name, its type, its default value, and (if it's a choice parameter) its options. Using this text, you can find the option(s) you want to set and specify them via the appropriate arguments.
NOTE
This command builds on top of your existing configuration, so if you have some settings already saved and just want to modify others, you don't need to repeat them. It will only update settings that you include as arguments to this command.
If you haven't finished installing Rocket Pool yet, return to the Native setup guide now. Otherwise, the next step is to restart your daemon services with:
sudo systemctl restart rp-node rp-watchtower
