# Preparing your Node for Operation
If you're here, then you've succesfully started the Smartnode services, created a wallet, and finished syncing both the Execution (ETH1) and Consensus (ETH2) chains on your respective clients. If so, then you are ready to register your node on the Rocket Pool network and create a minipool with an ETH2 validator! If not, please review the previous sections and return here once you've completed those steps.
Before creating a new minipool and ETH2 validator, there are a few steps to take to finish preparing your node. These only need to be done once though; once you've done them, you can skip to the Creating a New Minipool section if you want to create multiple minipools on your node.
# Loading your Node Wallet
Registering your node and standing up a validator both involve submitting transactions to the Ethereum network from your node wallet. This means you'll need to have some ETH on it to pay for the gas costs of those transactions. You'll also want to provide it with the RPL token, because you'll need to stake some of that prior to creating a minipool as collateral.
The ETH required for gas fees to set up a node with one minipool is about 0.0025 ETH times the current gas price in gwei. For example, with a gas price of 30 gwei, you would pay about 0.075 ETH in gas fees.
See this worksheet (opens new window) to help estimate the gas fees for various network conditions.
# Registering your Node with the Network
Once you have ETH and RPL in your wallet, you can register your node with the Rocket Pool network to access all of its features. To do this, run the following command:
rocketpool node register
This will prompt you for the timezone you want to register with.
By default, this will detect the timezone from your system clock, but you can change it if you prefer.
Any of the Country/City format timezones listed on this page (opens new window) should be acceptable.
NOTE
The timezone is just used for the global map of node operators displayed on the main site.
You don't need to set it to your actual timezone if you have security concerns.
If you prefer to remain anonymous, use a generic option such as Etc/UTC.
Once this is complete, you will officially be a member of the Rocket Pool network!
# Setting your Withdrawal Address
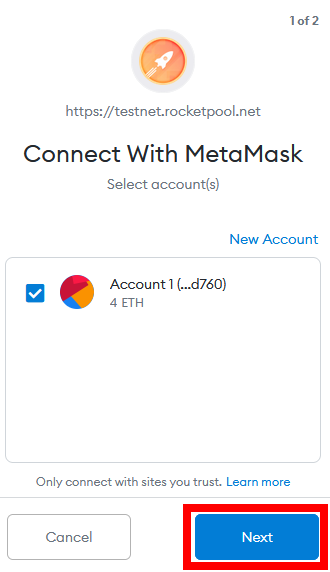
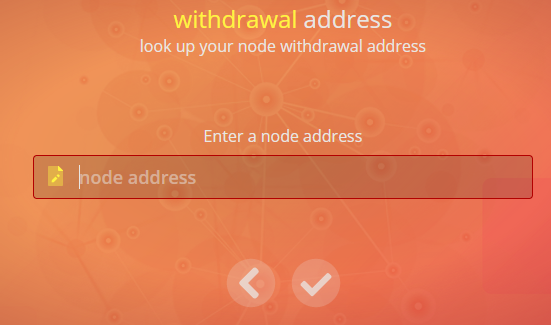
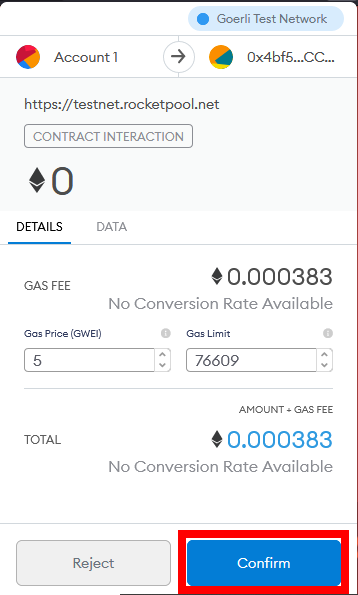
Before anything else, we highly recommended you change the withdrawal address for your node. This is the address that all of your RPL checkpoint rewards, your staked RPL, and your Beacon Chain ETH will be sent to when you claim your checkpoint rewards or exit your validator and withdraw from your minipool.
NOTE
By default, this is set to your node's wallet address. However, for security reasons, it's recommended to set this to a different cold wallet that you control, such as a MetaMask address or a hardware wallet.
This way, if your node wallet is compromised, the attacker doesn't get access to your staked ETH and RPL by forcing you to exit because all of those funds will be sent to your separate cold wallet (which they hopefully do not have).
Withdrawal addresses are set at a node operator level. If you create multiple minipools they will all refer to the same withdrawal address. So you only need to perform this setup once.
There are two different ways to do this. Please read both options below to determine which one applies to you.
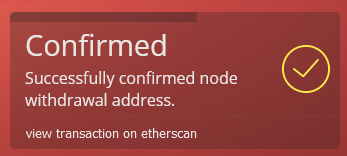
Once this is done, you will no longer be able to change your withdrawal address using the set-withdrawal-address command.
To change it, you will need to send a signed transaction from your active withdrawal address (the one you just switched to).
The Rocket Pool website has a function to help you do this.
# Swapping RPL v1 for RPL v2
In many cases, the RPL that you start with is going to be the legacy RPL token that is no longer used. Luckily, the CLI offers a function that allows you to easily swap it for the modern RPL token used by the network today.
Swapping will be done at a 1-to-1 ratio; if you have 1000 of the RPL v1 token, you can swap it for 1000 of the RPL v2 token. All you will need to do is pay a small amount of gas for the transaction.
This swap can be done at any time.
To do this, run the following command:
rocketpool node swap-rpl
This will ask you if you want to swap all of the RPL v1 in your node wallet for RPL v2 or specify a custom amount. When you've made your choice, confirm the transaction and wait for it to be processed and added to the blockchain.
Once the transaction is accepted, you can confirm that it worked with rocketpool node status:
The node <node address> has a balance of 131.973495 ETH and 1440.000000 RPL.

The node is registered with Rocket Pool with a timezone location of Etc/UTC.

The node has a total stake of 0.000000 RPL and an effective stake of 0.000000 RPL, allowing it to run 0 minipool(s) in total.
The node does not have any minipools yet.
You should see your new RPL v2 balance on the top line where it describes how much RPL you currently have.
With that, your node is prepared! It's time to make a minipool and start staking your ETH. Click on the next section to learn about that process next.


